
Sia Astelle
Class Properties
| Class Group | Shine |
|---|---|
| Job Group | Magician |
| Primary Stat | INT |
| Secondary Stat | LUK |
| Legion Bonus | %Abnormal Status Damage (+1/2/3/5/6%) |
| Primary Weapon |  Celestial Light Celestial Light |
| Secondary Weapon |  Compass Compass |
Skill Preview
Class Infographics
Link Skill
- Can be stacked up to 2 times for each unique Shine class to reach Master Level
Buff Duration: +19%, Critical Damage: +6%
All Actives
| Active Buffs: | |
|---|---|
| Toggles: | |
| Summons & Placables: | |
| Buffs with Cooldowns: | |
| Binds: | |
| iFrames: | |
| Damage Reduction (%Max HP): |
Special thanks to the members of the Sia Astelle Discord for their help in making this overview!
For more in-depth info, visit the Class Discord at http://discord.gg/9pUBfTsntS
Base Stats (From Skills)
Base Stats are calculated by values that are close to always available. Base Stats inside brackets () are the sum of stats provided from all skills of the current row of the table
- PERM
- TOGGLE
- DEBUFF
- TEMP
- UNLOCK
| Weapon Multiplier | 1.2x | |
| Attack Speed | 7 | Stage 4 +1 +2 |
| Weapon Mastery | 95% | Base +25% +70% |
| INT | +40 & +15%(415%) to assigned AP | +20 +20 +15% to assigned AP |
| Magic Attack | +14% +100(160) | +4% +10% +20 +30 +50 +30 +30 |
| Crit Rate | +35%(45%) | Base +5% +10% +20% +10% |
| Crit Damage | +36%(66%) | +6% +10% +10% +10% +20% +10% extra w/ Stellagram |
| Damage | +45%(105%) | +15% +30% +10% +10% +20% +20% |
| Boss Damage | +20%(40%) | +20% +20% |
| Final Damage | +68.75%(118.70%) | +25% +35% +10% +8% while toggled |
| Ignore DEF | +30%(43.3%) | +30% +10% +10% |
Example Skill Build Path
| 1st Job: | |
|---|---|
| 2nd Job: | |
| 3rd Job: | |
| 4th Job: |
- All 1st to 4th Job skills can be maxed
- Put one SP into each skill first and then max each skill in this order
- For any skills that have prerequisites, follow them first before following build path
Hyper Skill Passive Build

 Marking - Reinforce and Extra Strike
 Stellar Marking - Reinforce Duration
 Appear - Enhance and Persist
Skills Boosted by Each Nodes
- PRIMARY
- SECONDARY
- OTHER
Recommended Inner Ability
- Attack Speed +1
- Buff Duration +38%
- Boss Damage +10%
How to create a Sia Astelle
Sia Astelle is only available for creation in Global MapleStory
Stellagram Fusion
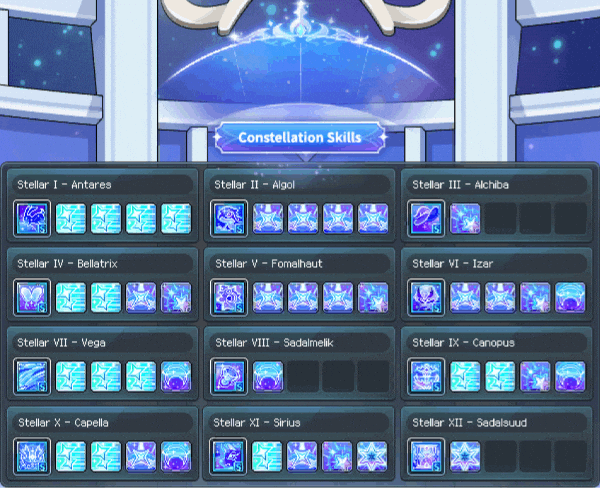
Sia's skills can be categorized as "Marking Skills" and "Constellation Skills". Upon using a "Marking Skill", it is recorded onto ![]() the Stellagram gauge. When a matching combination (in any order) is recorded onto the gauge, a [Stellagram Fusion] is triggered and a matching "Constellation Skill" is activated
the Stellagram gauge. When a matching combination (in any order) is recorded onto the gauge, a [Stellagram Fusion] is triggered and a matching "Constellation Skill" is activated
"Constellation Skills" can also be assigned a Key Slot and used without a [Stellagram Fusion]. However, "Constellation Skills" activated using [Stellagram Fusion] gain a bonus effect
In 5th Job, using ![]() grants a buff where the bonus effect is always granted even without [Stellagram Fusion]
grants a buff where the bonus effect is always granted even without [Stellagram Fusion]
The ![]() Stellagram gauge can be reset by using
Stellagram gauge can be reset by using ![]() or by pressing the Down Arrow Key and
or by pressing the Down Arrow Key and ![]() together. As well, each "Constellation Skill" can be locked by right-clicking the skill to prevent it from activating from [Stellagram Fusion]
together. As well, each "Constellation Skill" can be locked by right-clicking the skill to prevent it from activating from [Stellagram Fusion]